Thanks for your input everyone.
I have taken on board your thoughts & purchased this:
https://www.camera-warehouse.com.au/xlite-single-2-8m-air-cushioned-strobist-kit
It's a starter kit that is available in Australia, and looks similar to the items suggested from you from the US sites. It wasn't very expensive, (a little over AU$100).
Now I am looking forward for it to arrive so I can start learning how to best use this new gadget & improving my portrait photography
")

Learning with one light is a good way to learn lighting.
Here is one good reference.
Digital Photography Review - Thomas Park - The One-Light Studio
Here is an even easier setup.
If you have white walls clear out a corner of one room for your background.
Place a subject in the corner and about 1' from each wall.
Place the umbrella rim 6' from the subject*. Arrange yourself and the light roughly like in the following diagram. You can move or even flip it the positions of the light and camera if desired. Adjust the height of the umbrella so 2/3 of the umbrella is above the subject's eye height and you will get nice light into the eyes and nice catchlights.
With your subject in the corner the white walls will reflect light from the umbrella/flash to fill in and soften the shadows.
To find the right exposure start with the flash at 1/4 power, ISO 100, and the lens closed down one stop.
Turn on the camera's Highlight Alert. Take a photo.
If the wall opposite the flash is blinking reduce the flash power until it just stops blinking. That is probably the right exposure but you may have to reduce the flash power by another 1/3 stop.
If the wall isn't blinking then go to 1/2 power or even full power and repeat the procedure above to find the right exposure.
To double check the exposure the red channel for the brightest diffuse highlight, which is typically the cheek closest to the light, should read very close to 218±5 when you hover over that area with your post processing eyedropper.
You now have your standard camera and flash settings so you will always get good exposures.
Here are the classical portrait lighting setups. Look for the shadows to see how the light position effects the lighting.
Start by learning Short Loop Lighting, called Short Lighting in this example. The loop part of the name comes from the way the shadow of the nose forms a loop on the cheek.
Portrait Lighting - Project 3 - Portrait Lighting Set-Ups
After Short Loop Lighting try Split lighting.
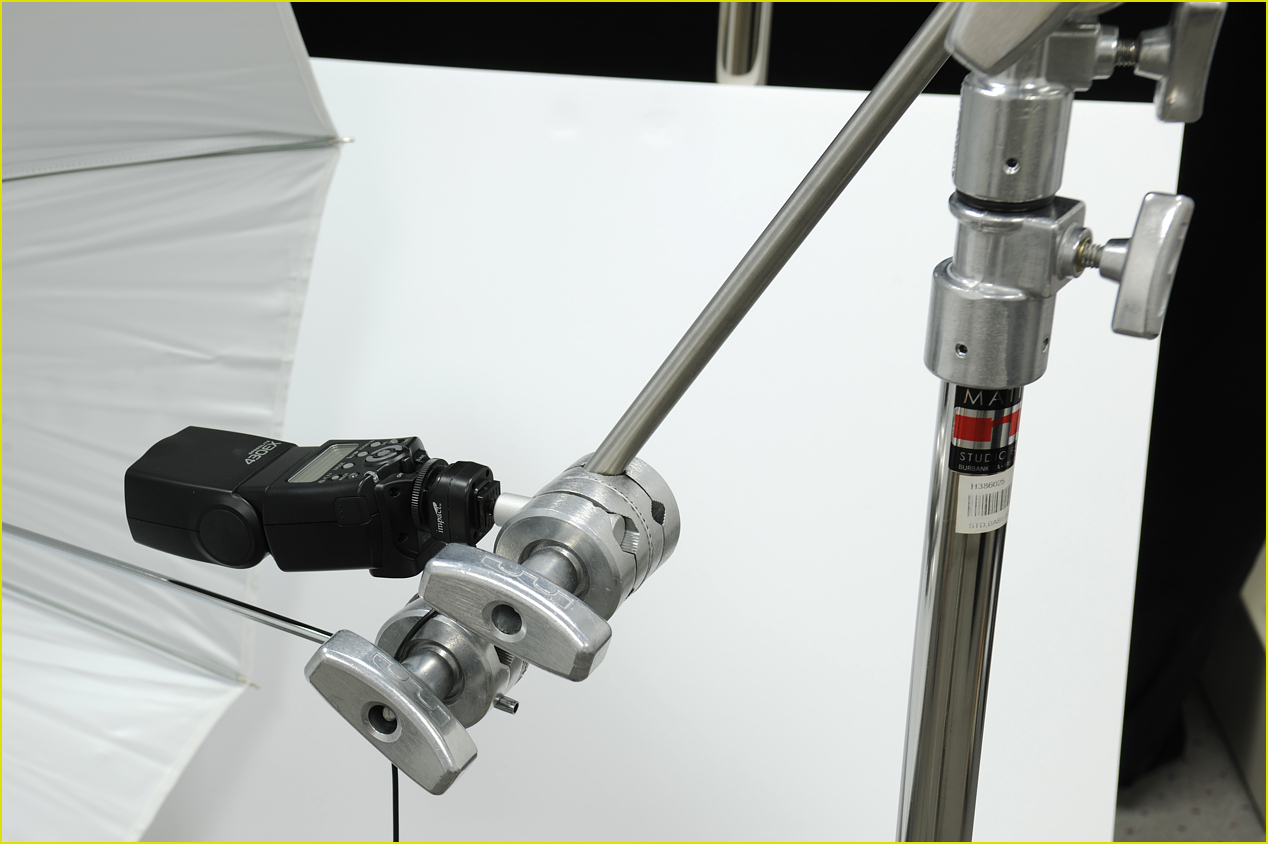
*Use the string method to always get the light the right distance from the subject. Take a string and tie a loop in one end that will fit over the thumb knob of the umbrella bracket. Stretch the string out in front of the umbrella and tie a knot where it goes past the rim of the umbrella. Tie another knot at 6' from the rim then cut the string off. Now all you have to do to position the umbrella 6' from the subject is to position it so the knot on the end of the string just reaches the subject's nose with the string stretched out straight (a couple inches either way won't matter).
--
Living and loving it in Pattaya, Thailand. Canon 7D - See the gear list for the rest.