Jonathan Lee
Forum Enthusiast
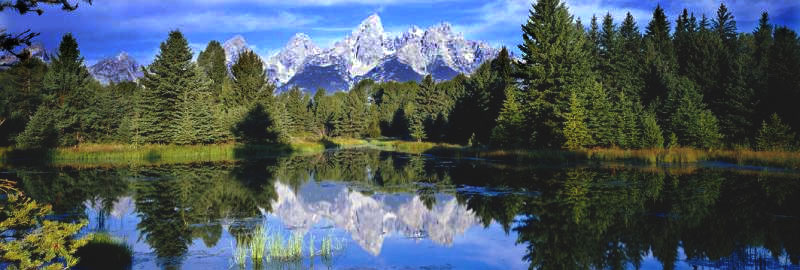
Hi,
I am trying to update this photo.

I like the green tree on the right side over the one of the left. Also, the mountain is very sick (pale") .
.
What is the good technique to correct it using PS? I am kind of new to PS. Baby me with step by step will be greatly appreciated. Thanks.
--Jon.
I am trying to update this photo.

I like the green tree on the right side over the one of the left. Also, the mountain is very sick (pale
.What is the good technique to correct it using PS? I am kind of new to PS. Baby me with step by step will be greatly appreciated. Thanks.
--Jon.