After much agony, I have decided on a linear workflow. Dcraw has too much moire and zipper artifacts. I am starting with an EVU/FVU linear raw file:
1. Make a linear raw file, 16 bit, TIFF. Unfortunately, they both require either sRGB or AdobeRGB to be tagged to the file. Assign the profile that is DIFFERENT from your working profile in PS.
2. Open the file in PS. When it opens you will get this dialog:

Click the last, don't color manage.
3. Assign the 10D linear profile: http://home.comcast.net/~ajpacheco/Canon10DXLProfilerSDKL.zip
through this dialog:

4. Pull the white point ONLY in on levels to the leftmost data like this:

5. Pull the middle point of the curves dialog out to the left at 45 degrees to adjust contrast and exposure:

6. Add saturation to taste.
7. USM, I use about 400/0.4/threshold 3
8. Convert to sRGB with Adobe/No Blackpoint compensation.
Done.
Now, for the challenge. Take this RAW file: http://bleicher.home.comcast.net/Images/CRW_3972.CRW
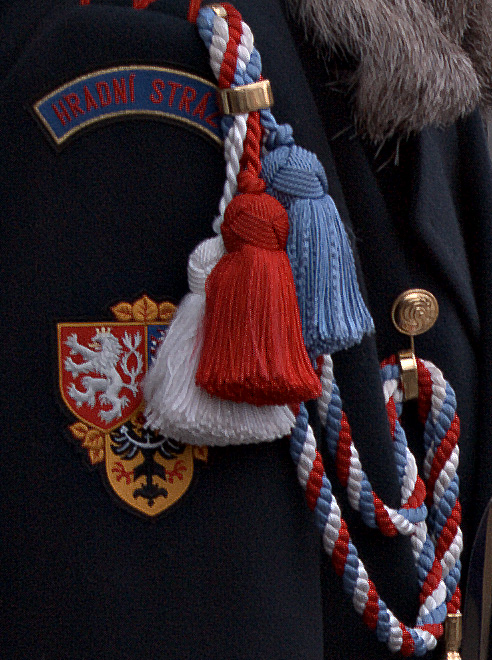
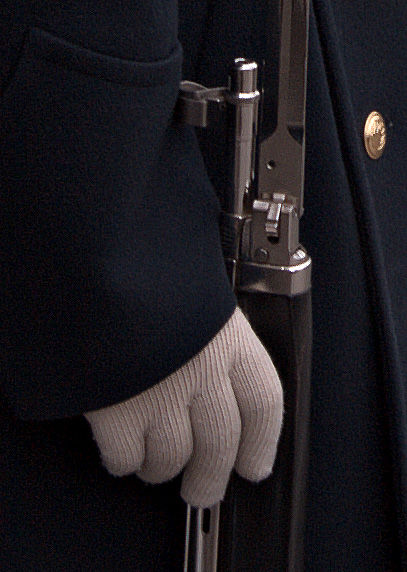
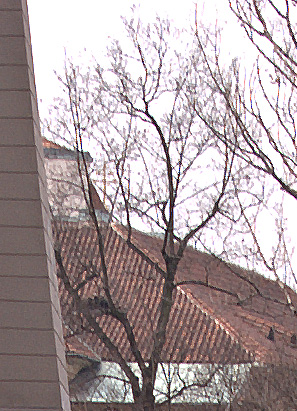
and, using nothing more than levels/curves/saturation/USM, get better results than these with any RAW convertor. You have to post the exact same crops as these three. First the overall photo, then the crops:


--
Paul
------------------------------------------------
Pbase supporter
Photographs at: http://www.pbase.com/pbleic
--------------------------------------------------
Unless specified otherwise, all images are Copyright 2003, 2004 All rights reserved.
1. Make a linear raw file, 16 bit, TIFF. Unfortunately, they both require either sRGB or AdobeRGB to be tagged to the file. Assign the profile that is DIFFERENT from your working profile in PS.
2. Open the file in PS. When it opens you will get this dialog:

Click the last, don't color manage.
3. Assign the 10D linear profile: http://home.comcast.net/~ajpacheco/Canon10DXLProfilerSDKL.zip
through this dialog:

4. Pull the white point ONLY in on levels to the leftmost data like this:

5. Pull the middle point of the curves dialog out to the left at 45 degrees to adjust contrast and exposure:

6. Add saturation to taste.
7. USM, I use about 400/0.4/threshold 3
8. Convert to sRGB with Adobe/No Blackpoint compensation.
Done.
Now, for the challenge. Take this RAW file: http://bleicher.home.comcast.net/Images/CRW_3972.CRW
and, using nothing more than levels/curves/saturation/USM, get better results than these with any RAW convertor. You have to post the exact same crops as these three. First the overall photo, then the crops:


--
Paul
------------------------------------------------
Pbase supporter
Photographs at: http://www.pbase.com/pbleic
--------------------------------------------------
Unless specified otherwise, all images are Copyright 2003, 2004 All rights reserved.