areallygrumpyoldsod
Veteran Member
Hi all
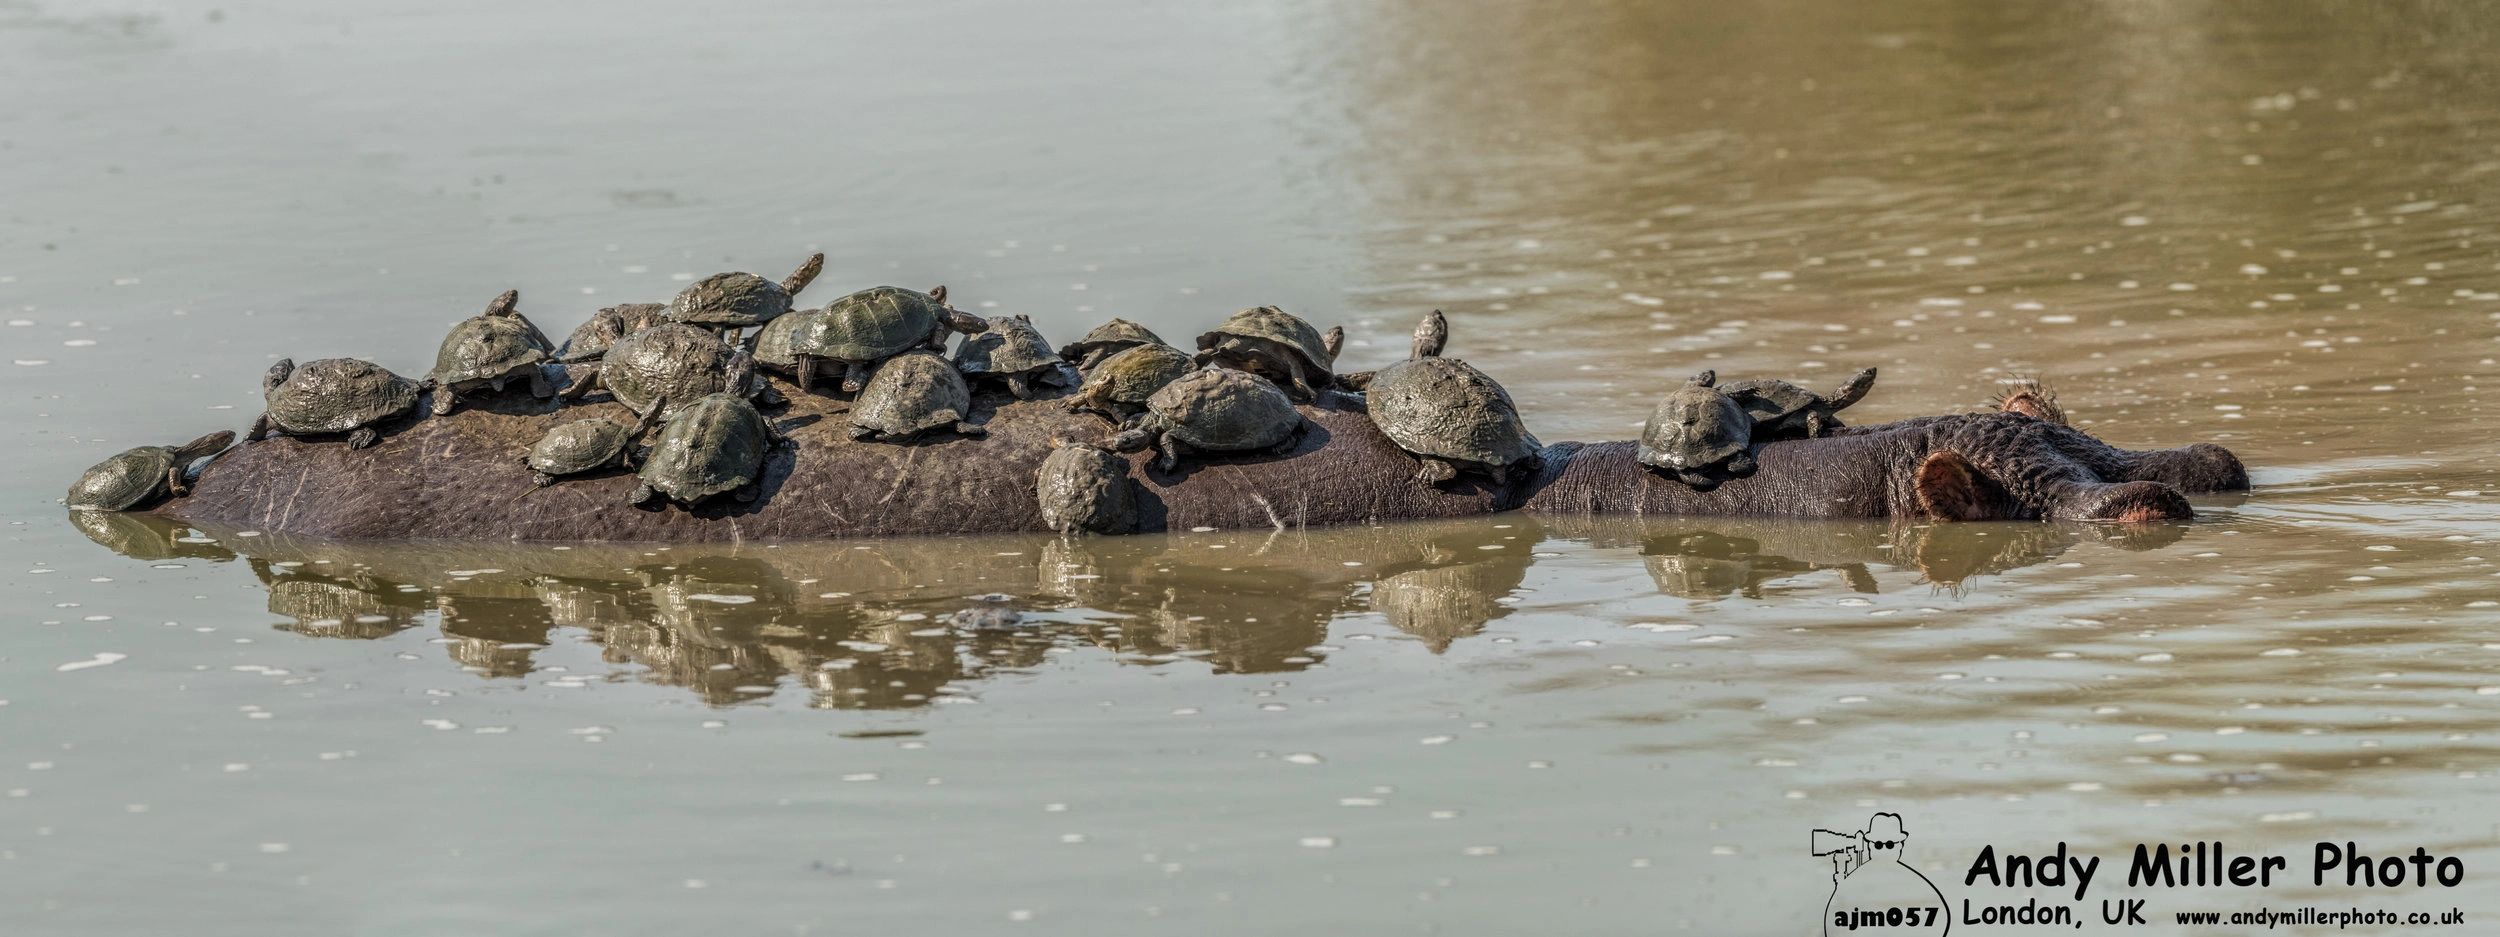
I am using DaVinci Resolve Studio 20.2 and revisiting about 8 hours of 8.3k N-log N-RAW HQ footage I shot while on safari in Kenya back in 2023.
I find that, unlike back in 2023, when I open each RAW clip the colours look GREAT, sure with possibly only some tiny improvement needed. BUT when I "try" to apply any LUT (including the new RED LUTs for a Nikon camera) the immediate results are TERRIBLE.
So the question to you is what am I doing wrong (other than playing with LUTs)
The colour management section of my project settings have color science set to DaVinci YRGB Color Managed and Automatic Colour Managed ticked (although this seems to make no difference - when unticked I select HDR DaVinci Wide Gamut Intermediate as color processing mode) and output is Rec.709 Gamma 2.2. No LUT is applied to the project or timeline. Under the Camera Raw tab I confirm the RAW profile is Nikon RAW and color space is Rec.2020 and Nikon N-log and make no other changes.
Given the first LUT I wish to apply is "N-Log_BT2020_to_REC709_BT1886_size_33" in the COLOR workspace I add 3 nodes with CST -- input to Rec.2020 N-Log; then Rec 2020 to DaVinci Wide Gamut/DaVinci Intermediate and finally DaVinci Wide Gamut/DaVinci Intermediate to Rec.709 Gamma 2.2.
I then added blank nodes after each CST which is where I try the LUT (only once per attempt)

Nodes 1, 2, 4 Color Space Transform. Nodes 5, 3, and 6 ready for LUT to be applied

Image after all CST applied and a small curve adjustment

Lut applied to node 5 which is Rec.2020 Nikon N-log like the footage
[ATTACH alt="Exposure reduced by 1.25 and Saturation to 0.61 in global adjustments - results in a vastly more contrasty and with "wired colours" hightenend magenta and oranges"]3776512[/ATTACH]
Exposure reduced by 1.25 and Saturation to 0.61 in global adjustments - results in a vastly more contrasty and with "wired colours" hightenend magenta and oranges
Applying the LUT anywhere else in the chain is even worse, which is not surprising because the working space after 02CST is DaVinci Wide Gamut/DaVinci Intermediate and then after node 04 Rec.709 Gamma 2.2 - whereas the LUT is N-Log_BT2020_to_REC709_BT1886_size_33.
As noted after applying the LUT to Node 5 I immediately had to reduce exposure by 1.25 and Saturation to 0.61 in global adjustments - results in a vastly more contrasty and with "wired colours" heightened magenta and oranges. All in all a far worse outcome than not applying the LUT at all. While I was not expecting a single just apply LUT and go solution I was expecting to edit individual colour channels and a whole lot more to get decent outputs.
Using the RED LUT "RED_FilmBias_Rec2020_N-Log_to_Rec709_BT1886" does a better job, but the same post LUTs adjustments are needed. The result is still more harsh that I prefer but a distinct improvement.

Using the RED LUT "RED_FilmBias_Rec2020_N-Log_to_Rec709_BT1886"
Does anyone else use DaVinci Resolve Studio 20.2 (or newer) on Z8/Z9 footage shot in N-RAW N-Log HQ and have you had success setting up your DVRS and using the "free" LUTS from Nikon in your colour grading of footage -- If YES are there any obvious mistakes I made or tips you care to share so I can learn how to do this much better/quickly.
--
areallygrumpyoldsod
Nikon and Hasselblad shooter -- wildlife and and --
 I do not respond to PMs or messages via my website
I am using DaVinci Resolve Studio 20.2 and revisiting about 8 hours of 8.3k N-log N-RAW HQ footage I shot while on safari in Kenya back in 2023.
I find that, unlike back in 2023, when I open each RAW clip the colours look GREAT, sure with possibly only some tiny improvement needed. BUT when I "try" to apply any LUT (including the new RED LUTs for a Nikon camera) the immediate results are TERRIBLE.
So the question to you is what am I doing wrong (other than playing with LUTs)
The colour management section of my project settings have color science set to DaVinci YRGB Color Managed and Automatic Colour Managed ticked (although this seems to make no difference - when unticked I select HDR DaVinci Wide Gamut Intermediate as color processing mode) and output is Rec.709 Gamma 2.2. No LUT is applied to the project or timeline. Under the Camera Raw tab I confirm the RAW profile is Nikon RAW and color space is Rec.2020 and Nikon N-log and make no other changes.
Given the first LUT I wish to apply is "N-Log_BT2020_to_REC709_BT1886_size_33" in the COLOR workspace I add 3 nodes with CST -- input to Rec.2020 N-Log; then Rec 2020 to DaVinci Wide Gamut/DaVinci Intermediate and finally DaVinci Wide Gamut/DaVinci Intermediate to Rec.709 Gamma 2.2.
I then added blank nodes after each CST which is where I try the LUT (only once per attempt)
Nodes 1, 2, 4 Color Space Transform. Nodes 5, 3, and 6 ready for LUT to be applied
Image after all CST applied and a small curve adjustment
Lut applied to node 5 which is Rec.2020 Nikon N-log like the footage
[ATTACH alt="Exposure reduced by 1.25 and Saturation to 0.61 in global adjustments - results in a vastly more contrasty and with "wired colours" hightenend magenta and oranges"]3776512[/ATTACH]
Exposure reduced by 1.25 and Saturation to 0.61 in global adjustments - results in a vastly more contrasty and with "wired colours" hightenend magenta and oranges
Applying the LUT anywhere else in the chain is even worse, which is not surprising because the working space after 02CST is DaVinci Wide Gamut/DaVinci Intermediate and then after node 04 Rec.709 Gamma 2.2 - whereas the LUT is N-Log_BT2020_to_REC709_BT1886_size_33.
As noted after applying the LUT to Node 5 I immediately had to reduce exposure by 1.25 and Saturation to 0.61 in global adjustments - results in a vastly more contrasty and with "wired colours" heightened magenta and oranges. All in all a far worse outcome than not applying the LUT at all. While I was not expecting a single just apply LUT and go solution I was expecting to edit individual colour channels and a whole lot more to get decent outputs.
Using the RED LUT "RED_FilmBias_Rec2020_N-Log_to_Rec709_BT1886" does a better job, but the same post LUTs adjustments are needed. The result is still more harsh that I prefer but a distinct improvement.
Using the RED LUT "RED_FilmBias_Rec2020_N-Log_to_Rec709_BT1886"
Does anyone else use DaVinci Resolve Studio 20.2 (or newer) on Z8/Z9 footage shot in N-RAW N-Log HQ and have you had success setting up your DVRS and using the "free" LUTS from Nikon in your colour grading of footage -- If YES are there any obvious mistakes I made or tips you care to share so I can learn how to do this much better/quickly.
--
areallygrumpyoldsod
Nikon and Hasselblad shooter -- wildlife and and --


")


