tarkan
Leading Member
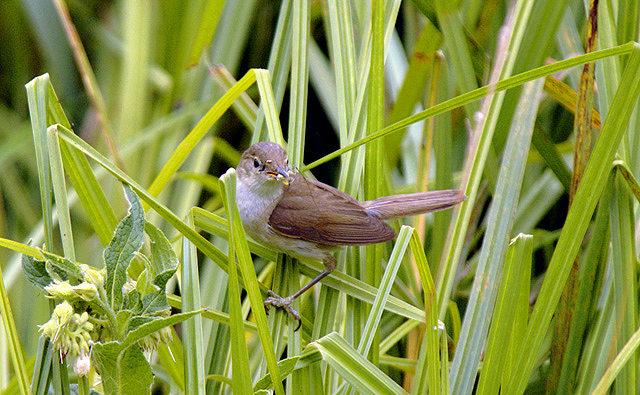
I like the overall effect - but due to the automatic nature of the action detail in the bird has gone - it is very close to what I am trying to achieve.
Thanks for pointing out the green cast - how could I miss it - the greencast is awful")
thanks,
Tarkan
A Nikon D70 Owner
Thanks for pointing out the green cast - how could I miss it - the greencast is awful
thanks,
Tarkan
--I'm sure that with more time to work on it it would look much better.

--
http://www.pbase.com/megap
Mike


A Nikon D70 Owner