Yannis1976
Veteran Member
During the last couple of years I have used several sensor cameras from 1/2,3 up to recently 4/3. Although the resolution, details and dynamic range of the m43 sensor is far superior, I still can't match the colors I would like. Any ideas would be appreciated:
?")
Should I move the Tint slider more on the right (red)?

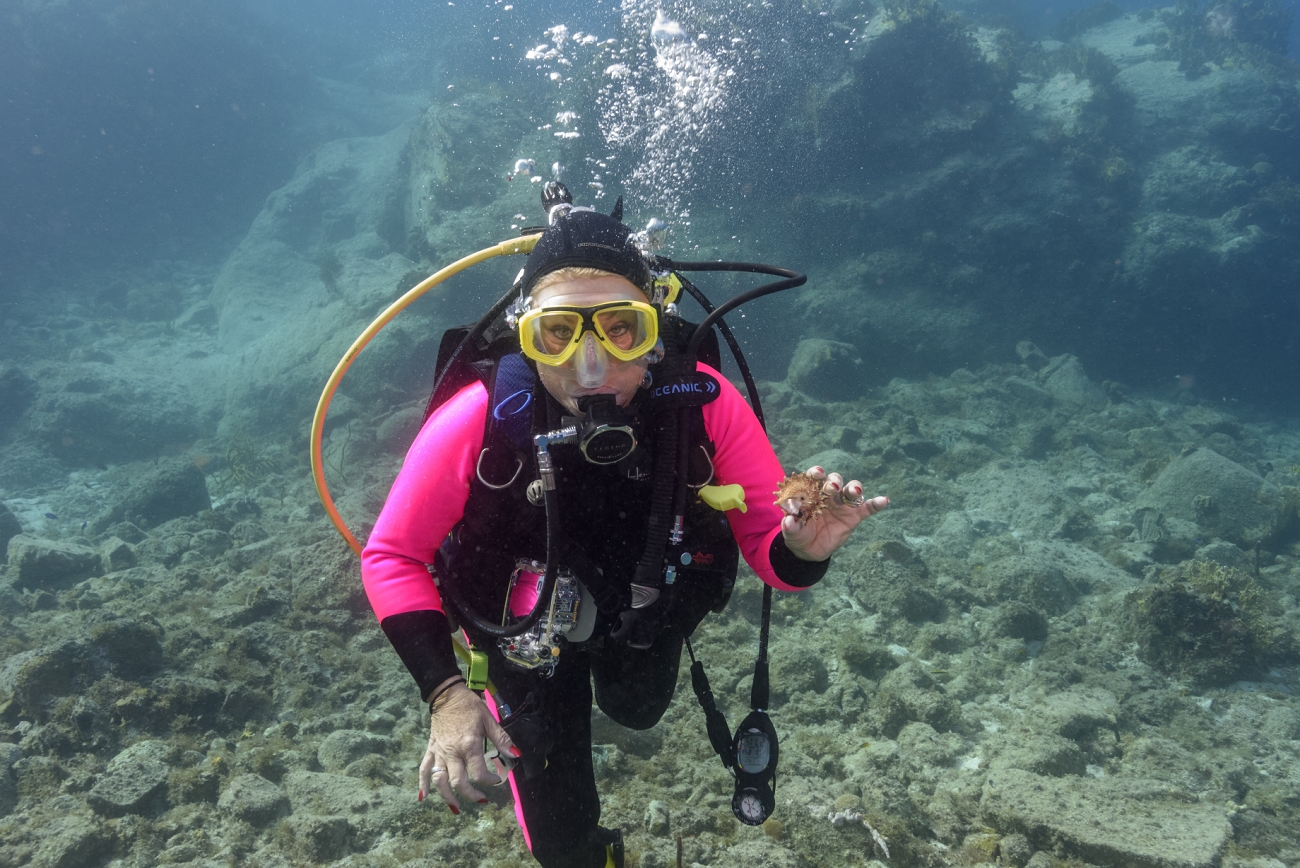
Colors are fine here, but distance was very close as well

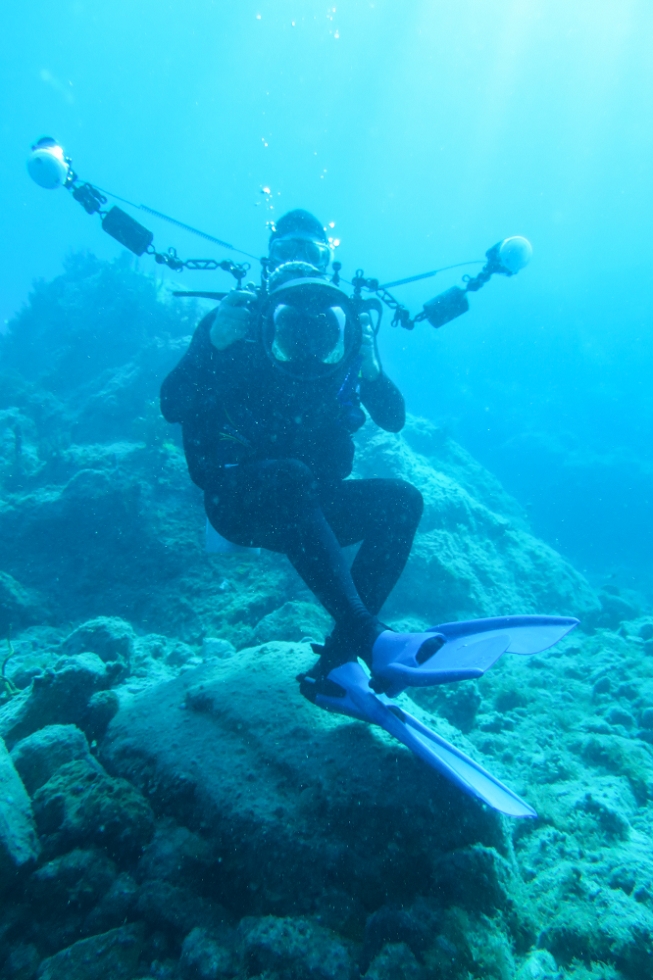
Again the green case is more than I would like

Everything fine here

and here...


Reverted to bw
--
Yannis

Should I move the Tint slider more on the right (red)?
Colors are fine here, but distance was very close as well
Again the green case is more than I would like
Everything fine here
and here...
Reverted to bw
--
Yannis