Shadowy Color Image to B&W - Anybody Care to Try?

My attempt.

 
Hi Andrew,

To Embed your Img here, just edit Img in PBase + click on Original then copy it + when you paste it here just add .jpg
Cheers
Ray
Actually, help with embedding an image in a post would also be
appreciated.....sorry to admit that I couldn't work out how to do it.
--
andrew
http://www.pbase.com/abott
 
Digital Detailer

Thank you very much for taking the time to improve upon my color version and do an excellent B&W conversion - loved them both. I'm trying to improve (from a pretty low base) my photoshop skills, so I'd greatly appreciate some insight into your workflow. Or if, as I suspect, it was massively complex, could you point me in the direction of some tutorials.

Thanks again.
--
andrew
http://www.pbase.com/abott
 
Dave

Thank you very much for taking the time to convert my image to B&W. I like it a lot.

I'm trying to improve (from quite a low base) my photoshop skills, so I'd greatly appreciate if you could explain in a little more detail what you did. I know a little about levels, but zero about masks ("Two layers of selective levels adjustments... one with a mask....").

If it's too hard for you to give details of what you did, I'd also really appreciate if you could point me in the direction of some tutorials, or other place I could learn more.
--
andrew
http://www.pbase.com/abott
 
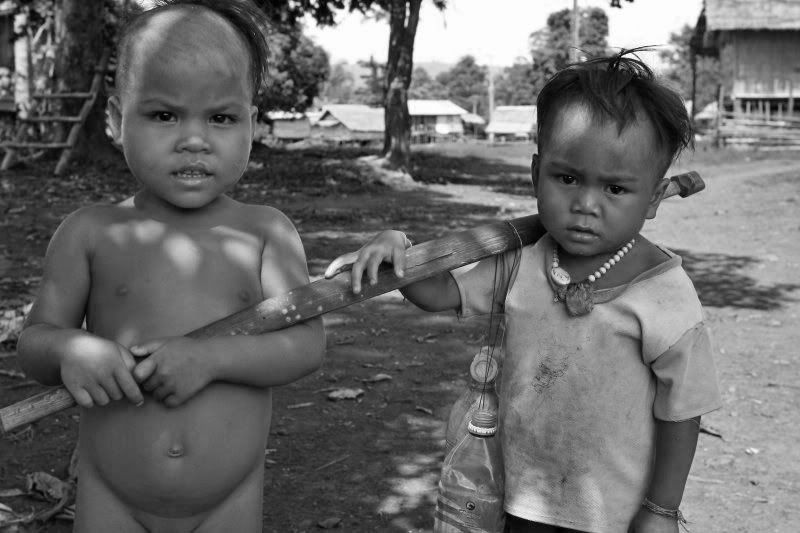
I've made a couple of attempts to convert this image to B&W using
Channel Mixer, but with limited success. Should I open up the shadow
areas using Adjust-Shadow/Highlights first?
Sometimes one pass with the channel mixer or black+white adjustment layer won't result in the best conversion. Sometimes you'll need 2 or more conversions then use masks to combine them.

I did that here:


Toning adds some depth:


Before:


--
Pam
http://www.pbase.com/pam_r
'art is working on something 'til you like it...then leaving it that way'
Coming soon - tutorials, videos, and more:
http://www.PhotoshopCreativity.com
 
Andrew,

Very nice shot.
1) converted to lab mode
2)selected the lightness channel(in channels)
3) converted to gray scale.
4) copied that new background layer
5) used softlight on the top layer/ changed opacity to 50% ( added back a little
punch.
6) flattened image


--
Ed Kelly
' It is what it is '

 
Dave

Thank you very much for taking the time to convert my image to B&W. I
like it a lot.

I'm trying to improve (from quite a low base) my photoshop skills, so
I'd greatly appreciate if you could explain in a little more detail
what you did. I know a little about levels, but zero about masks
("Two layers of selective levels adjustments... one with a mask....").

If it's too hard for you to give details of what you did, I'd also
really appreciate if you could point me in the direction of some
tutorials, or other place I could learn more.
--
andrew
http://www.pbase.com/abott
Hi Andrew,

I am glad that you like it. If you know about levels then you get the hard part. The additional thing to keep in mind is that adjustment layers can be created for levels by clicking on the "new adjustment layer" button at the bottom of the layers palette. Then pick "levels" to create an adjustment layer. This allows you to change the levels settings interactively as needed until you are ready to save the final file.

In my case I created two adjustment layers for levels. One that affected the entire image, and then another one that I isolated to a specific area by creating a selection with the selection tool (oval) around the heads and faces of the two boys, then choosing "feather selection" and feathering it by around 50 pixels or so if I remembered, then Inverting the selection to choose the rest of the image and once that was selected then I choose to create the new levels adjustment layer and brought the levels down in the rest of the image a tad. Probably seems kindof backwards thinking to you at the moment, but the more you play with adjustment layers the more it will begin to make sense. Look up adjustment layers in the online help for more info. Also I recommend Scott Kelby's books on photoshop if you don't have any of them... they are pretty good "getting started" books for photographers.

Hope this helps!

--
Dave Sutton
http://dlsutton.zenfolio.com

-- quote for the day: 'Don't feed the troll.'
 
I wish I would write down my steps. When I begin to work on a photo I look at what I think needs to be fixed. I work on all the areas one at a time till I am happy with the picture. I can tell you I usually use Gradiat Maps to convert to B&W, Sepia, Dual Toned, etc etc.

I can also tell you that almost every "NEW" thing I learn either comes from this forum or http://www.tutorialized.com under their photoshop area. I have also recently been introduced to http://www.radiantvista.com . All three are the best learning tool a person could ask for.
--

 
Over the last few weeks I have also been trying to improve my black and white conversion technique.

I use CS3 and either use the Black and White conversion tool or the Channel mixer for the basic conversion. From there I generally use either levels or curves to try and get the contrast I am looking for and sometimes dodge and burn areas also. Since I don't have any idea what I am doing I always do everything on seperate layers so I can easily undo anything that doesn't look right.

I have found this forum to be a great resource and also Martin Henson's websites,

http://www.runboard.com/bthedigitalmonochromeforum

http://www.digital-monochrome.co.uk/page1799.html

The following tutorial has also helped me with adjusting selected areas of an image using curves. I found this useful when trying to lighten the childrens faces but not everything else.

http://www.luminous-landscape.com/tutorials/Cramer_Selections.shtml?main_page=product_info&cPath=20&products_id=173

Anyway, here is my attempt.

Phil


Keyboard shortcuts

Back
Top