Here's a package I've put together that will allow you to brush drops
wherever you'd like using the brush tool preset, layer style and
action I've included. You could also run the action and layer style,
then use a regular brush to brush color onto existing drops.
The zipped package contains 4 files:
1 - A water drops action (.atn file)
2 - A water drops brush tool preset (.tpl file)
3 - A water drops layer style (.asl file)
4 - A text file with instructions and tips
Here's the effect:
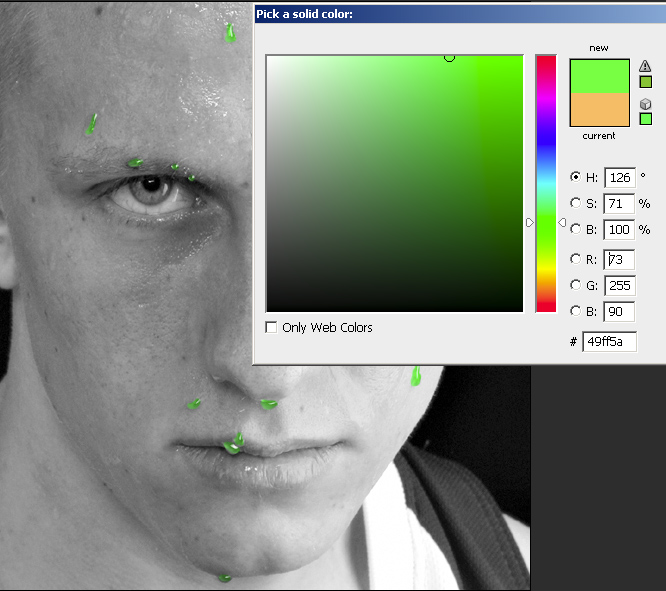
Using a regular brush to paint in green drops:

...or orange drops. To change color after running the action, just
double-click on the color fill layer, choose a new color, and
increase the layer fill opacity:

Here's the layer setup after running the action:

Using the brush tool preset and no color:

Clear drops are achieved by setting the layer fill to 0:

Colored drops are achieved by increasing the layer fill percentage:

Experiment with blend modes when using color fills. For example,
normal blend mode will give a different effect than...

...multiply blend mode

More tips and instructions are included in the file:
http://photoshopcreativity.com/Water-drops-by-Pam-R.zip
--
Pam
http://www.pbase.com/pam_r
'art is working on something 'til you like it...then leaving it that
way'
Coming soon - tutorials, videos, and more:
http://www.PhotoshopCreativity.com