Chris96940
Forum Enthusiast
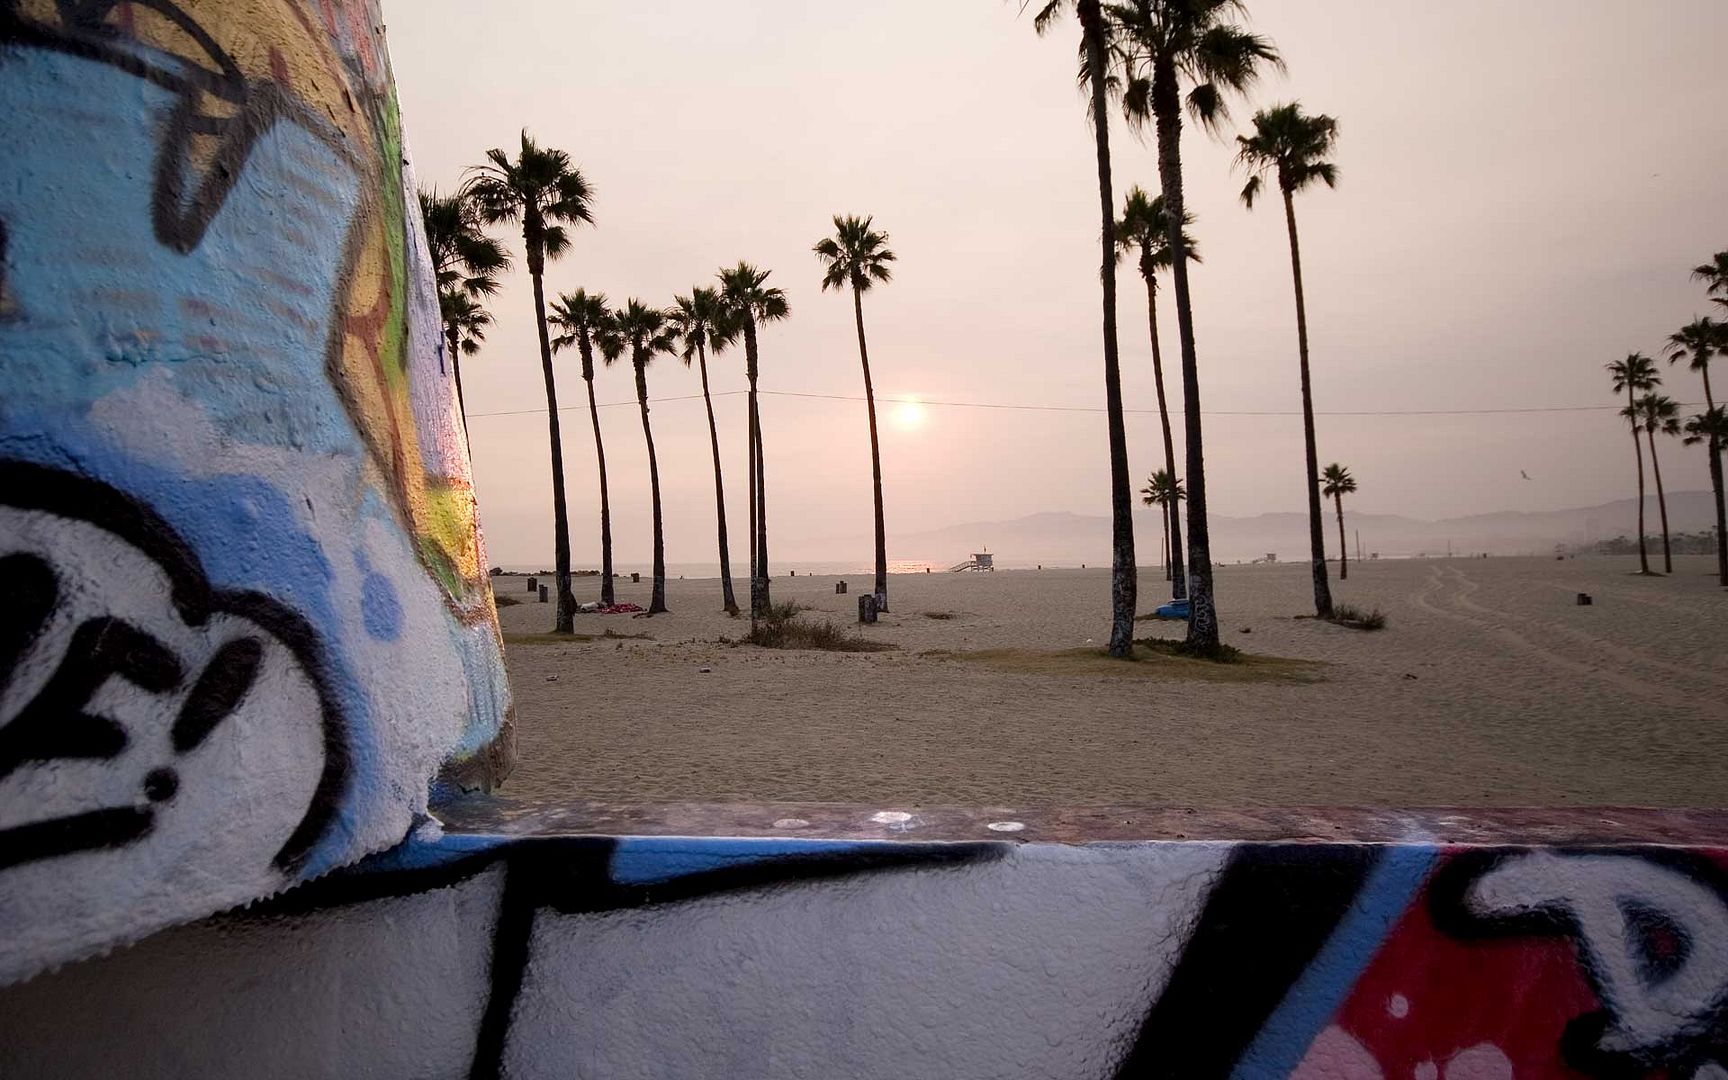
Took this on a semi cloudy day. Is there any way to make the sky look more blue? Or give this picture a little bit more "punch"?


Follow along with the video below to see how to install our site as a web app on your home screen.
Note: This feature may not be available in some browsers.

I have seen this behavior, especially here in SoCal. I use my CP only when I can get a shot where the sun is behind me, or to the side by more than 90 degrees. I have also found that in the summer here, the lighting is often so harsh, and the sky ether cloudy, hazy, or smog filled, that even with a UV/Haze filter or CP, the shots are really hard to get right. I find the best times here are either early morning, or later in the afternoon, towards evening. Twilight is the golden time...But then, sometimes even with
the polarizer it's not that blue. That's nature for you!


Took this on a semi cloudy day. Is there any way to make the sky
look more blue? Or give this picture a little bit more "punch"?