Bulldog_Scott
Well-known member
tap....
DISCLAIMER: This is a VERY LONG tutorial. I apologize for its size
but I wanted it to be as complete and detailed as possible.
I wanted to put together a tutorial on how I take a picture from
its original form as a RAW file all the way up to the finished
product. This is only but one of a thousand ways it can go, but I
believe it covers a lot of ground in producing better images from
your captured originals.
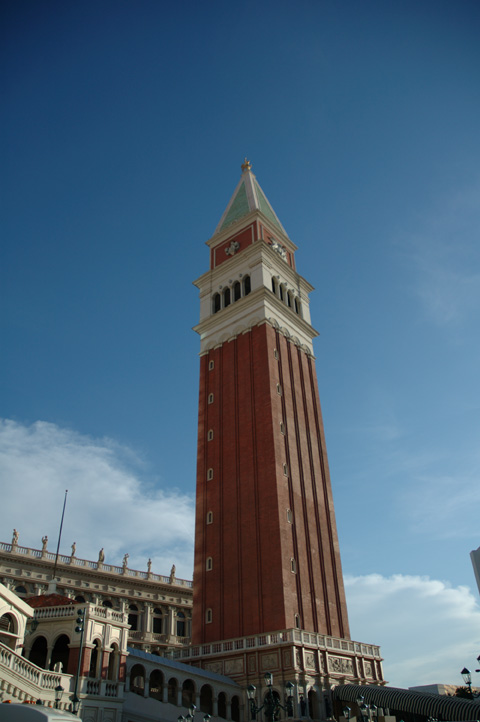
In this case, I am working with a picture shot back in the summer
on a trip to Las Vegas of The Venitian Hotel and Casino. The
original was okay but I wanted to improve the details in the shadow
areas and overall color balance and saturation changes.
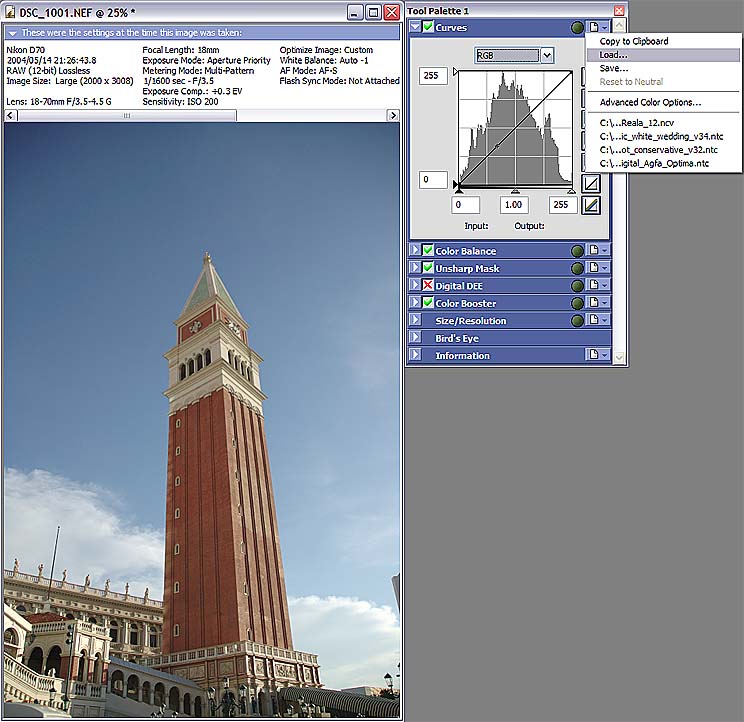
We start with the RAW image in Nikon Capture 4.1.0
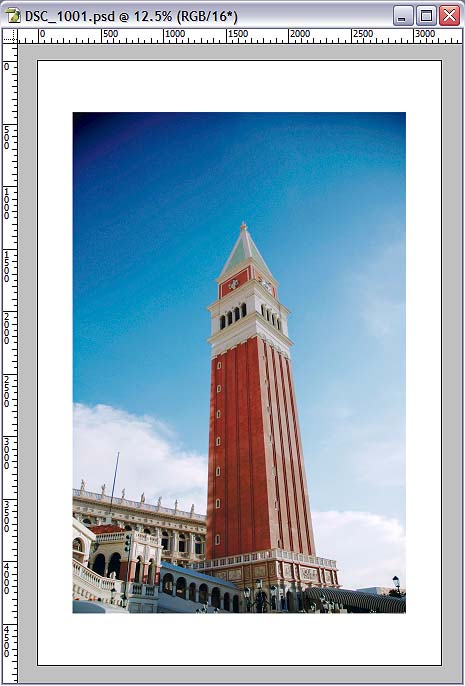
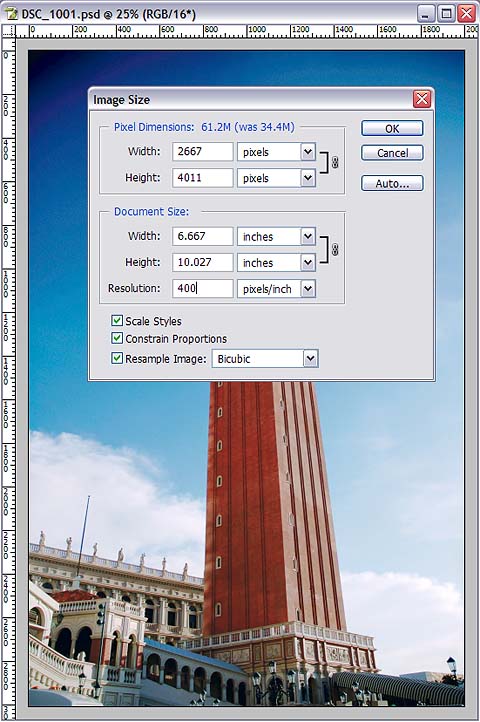
Here is the original picture which has been converted from NEF in
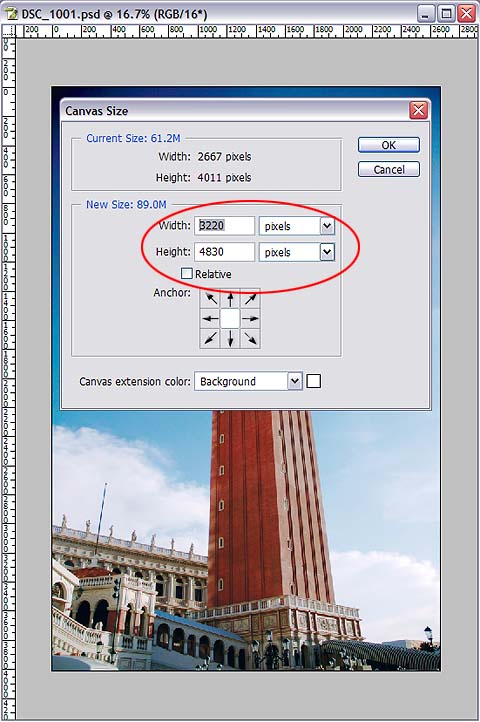
NC with no adjustments, pushed over to PSCS and resized. No
adjustments have been made up to this point. All images have been
resized for the web.

The first thing I like to do is improve on the overall look of the
image. BEfore trying out various combinations, I like to try out a
few of the numerous excellent custom curves that are vailable out
there. In this case, I settled on the Fuji Reala Digital Curve.
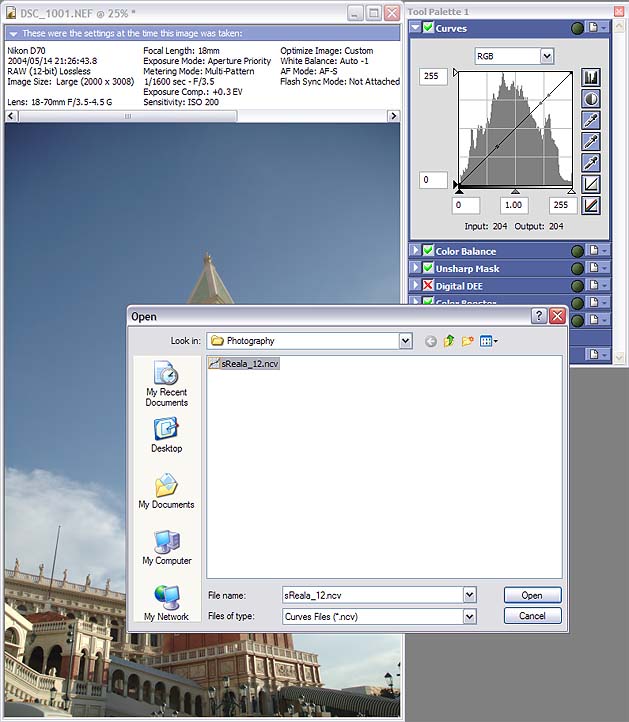
On the Curves palette, click on the menu icon and select Load...

Now navigate to wherever you have your custom curves saved and
select the one you want to use.

Look at the bottom of this tutorial for more references on Custom
Curves
[CONTINUED ON NEXT POST DUE TO LIMITS ON POSTING SIZE]

") The
The