Pansottin
Leading Member
- Messages
- 814
- Solutions
- 3
- Reaction score
- 122
Hi everyone, I need your advice for a small DIY job.
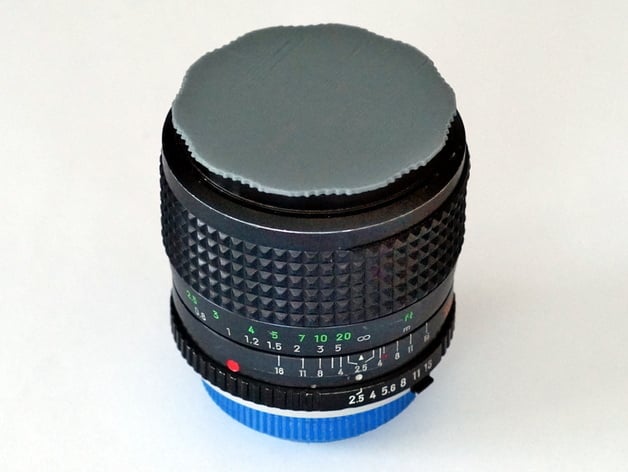
I want to cut a Fujifilm Fujinon GF lens rear cap (GFX system) so that I can then make a small hood when I use these lenses in reverse mode. These caps are made from a tough polymer; on the inside of the cap it says ">PC<". I assume it's polycarbonate, but I'm not into these industry acronyms.
What's the best way to cut a nice, clean circle on one of these Fujifilm back caps?
Thanks a lot.
 (If you did, you wouldn’t need to ask “how?”.)