first the sun is not going to damage the sensor. it will simply overload for that shot then be fine for the next scene.
ignore the sun. it is so much brighter that anything else you will probably NEVER get the sun exposed right. it is just to bright.
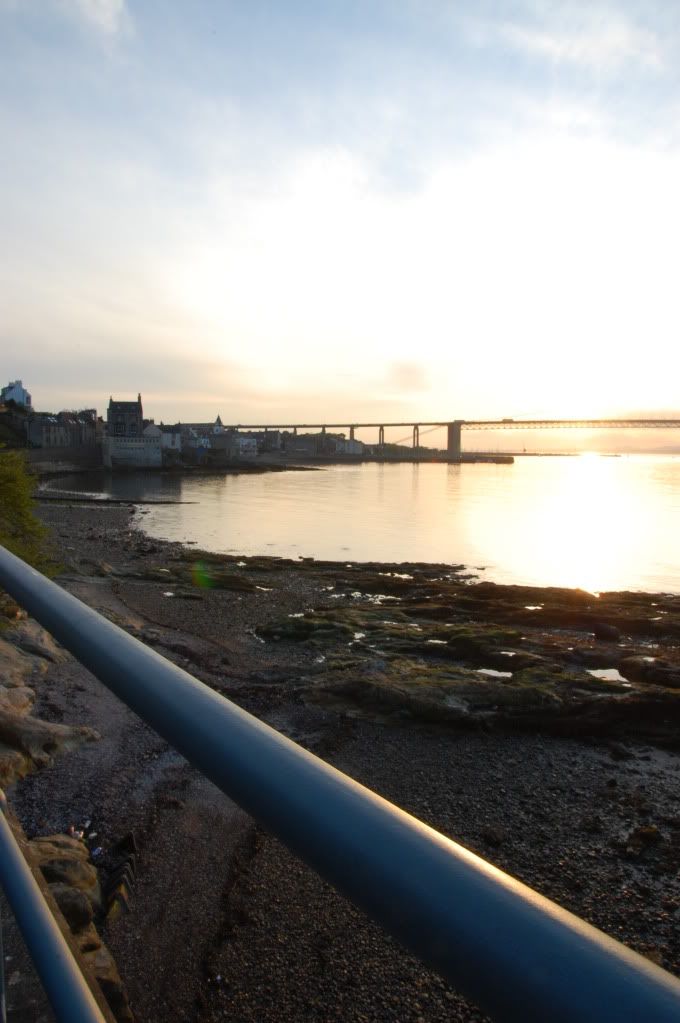
if i had to take the shot, i would try as follows- i know that the scene has too much dr to get all in the right exposure. after metering, i would i wouod close down the the exposure, by using ecxposure compensation. send the EC down in steps as far as it will go. this will underexposure the water/ground nthen try for recovery of mthe water/ground with pp software later. your sky will still probably be overexposed in some areas but would get close. the end result should not be totally objectionable.
the whole idea of takijg a pic of a scene is to end up with a result that is pleasing to the eye. below are some images with very dark and light areas. all worked well.
taken just after the sun went down.

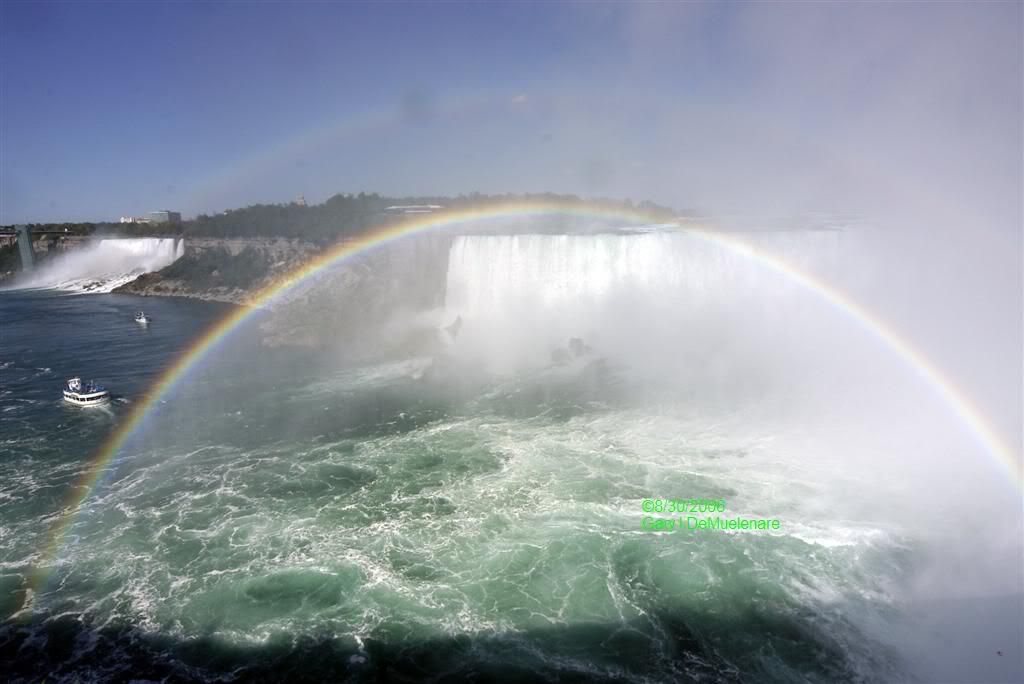
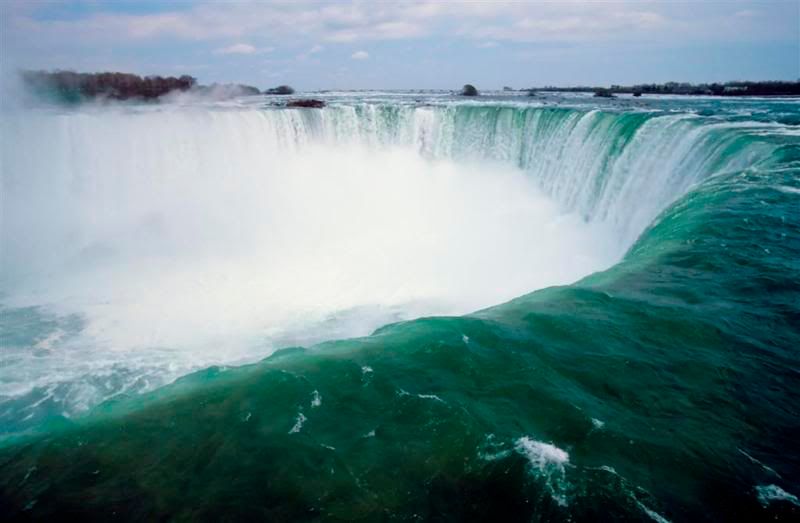
below niagara gorge. the super white water in contrast to the dark rock and equally dark water.

again niagara. note the super white bright water spray with the dark water going over the edge. this is a huge contrast difference in white/dark.

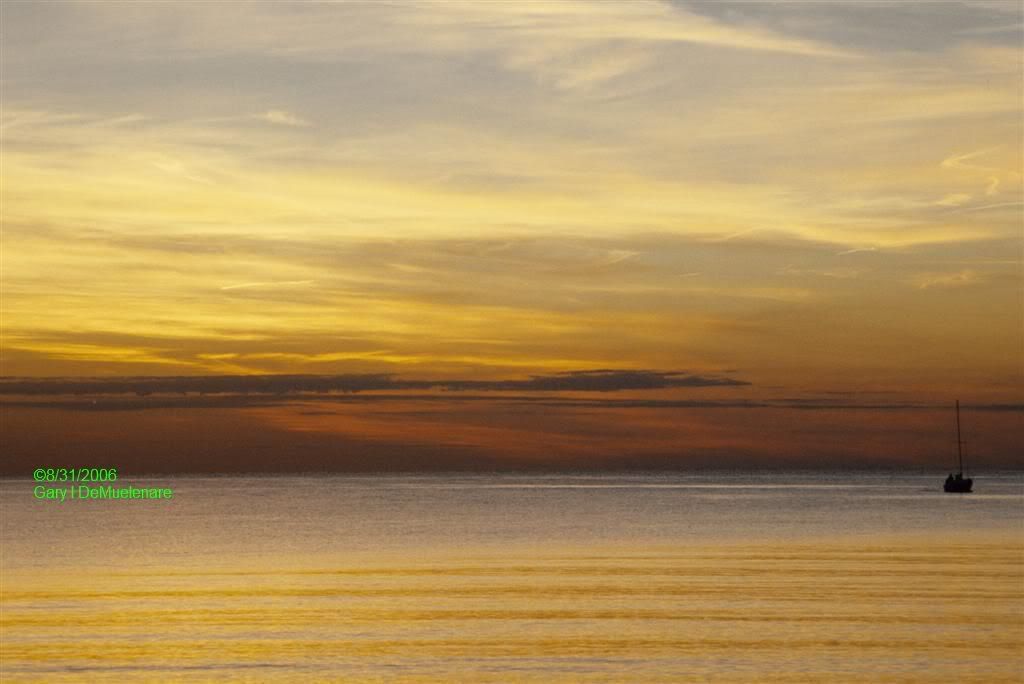
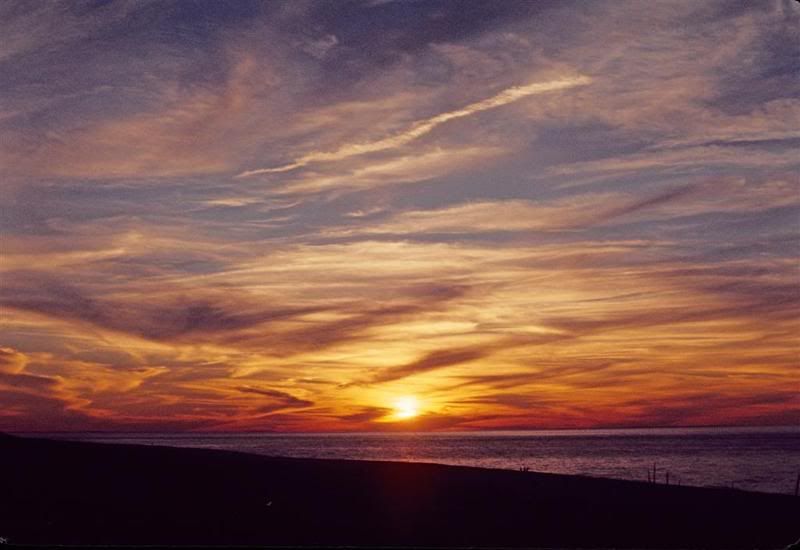
sunset, looking right into the setting sun. the darkish bottom seems to end up as part of the scene and blends in. even though it is really dark.

lastly. what you would think is a sunset. actually the pic was shot on slide film(which has a very narrow dr) in late afternoon. waited until the sun was partly behind the clouds then stopped way down to kill off the light. you get a fake sunset. the water cannot be darker while the glare from the sun is super white.

a lot of good pictures are obtained by not shooting a lot of images, but thinking a lot then shooting. the question that is answered is-how do i do this? then it is up to the shooter to come up with a way.
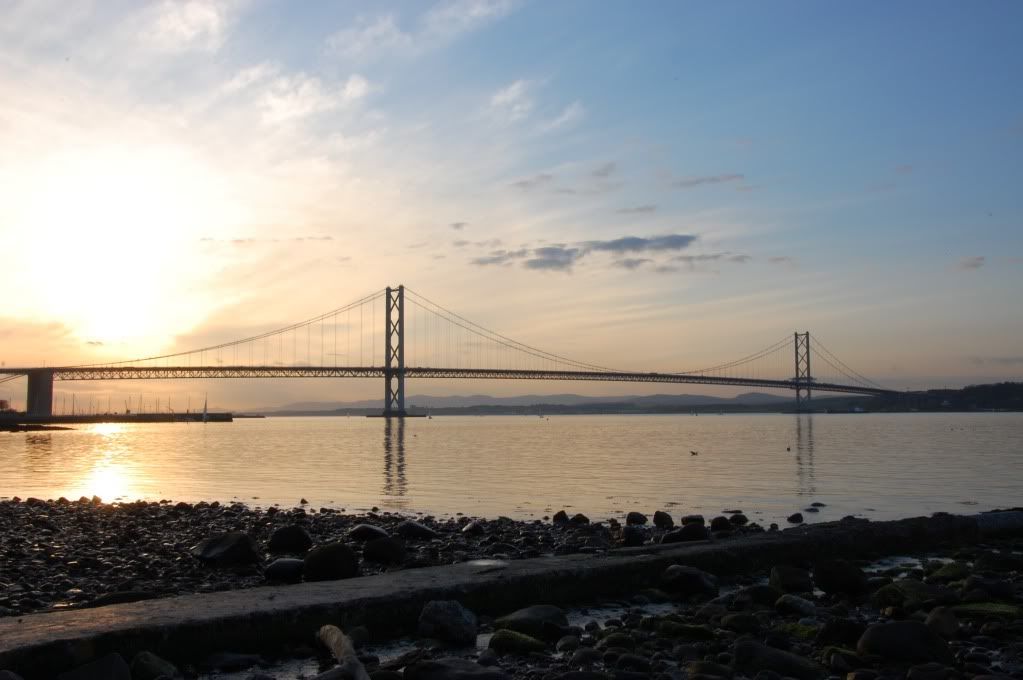
as for focusing, i use a fstop between f5.6 and f11.0 with the f8-11 most of the time. for your shot focus on the bridge. the dof will carry the focus for the whole image at f11.0.
")